1,apache下载
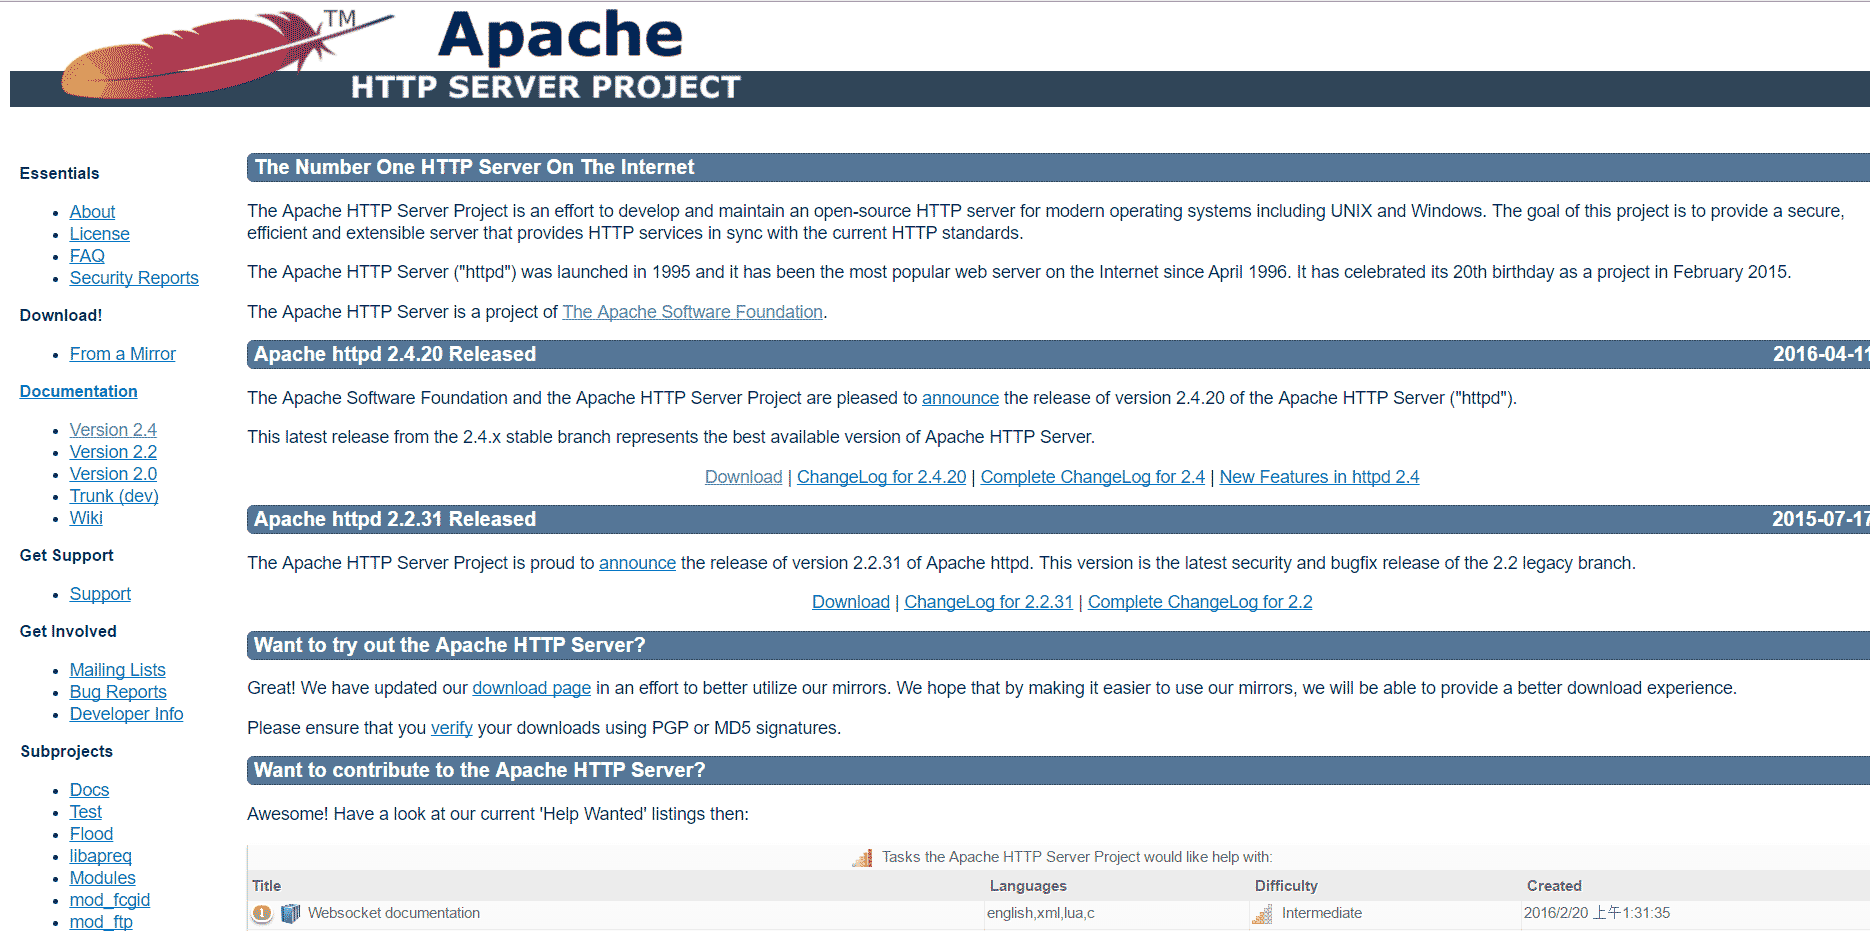
选择一个版本,点击download
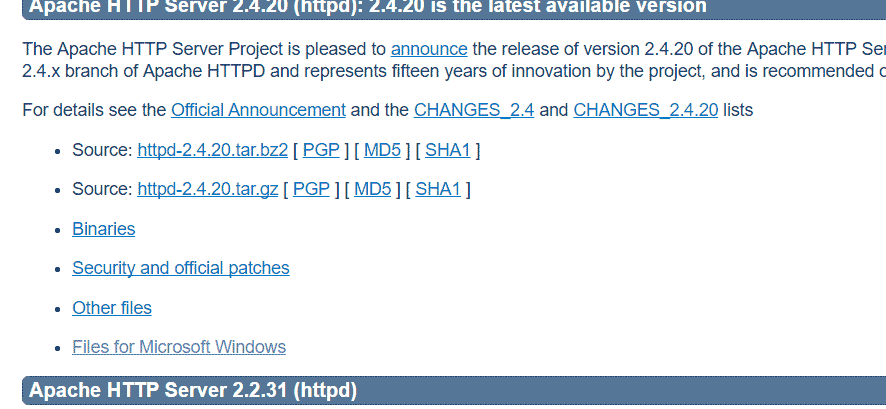
点击file for microsoft windows
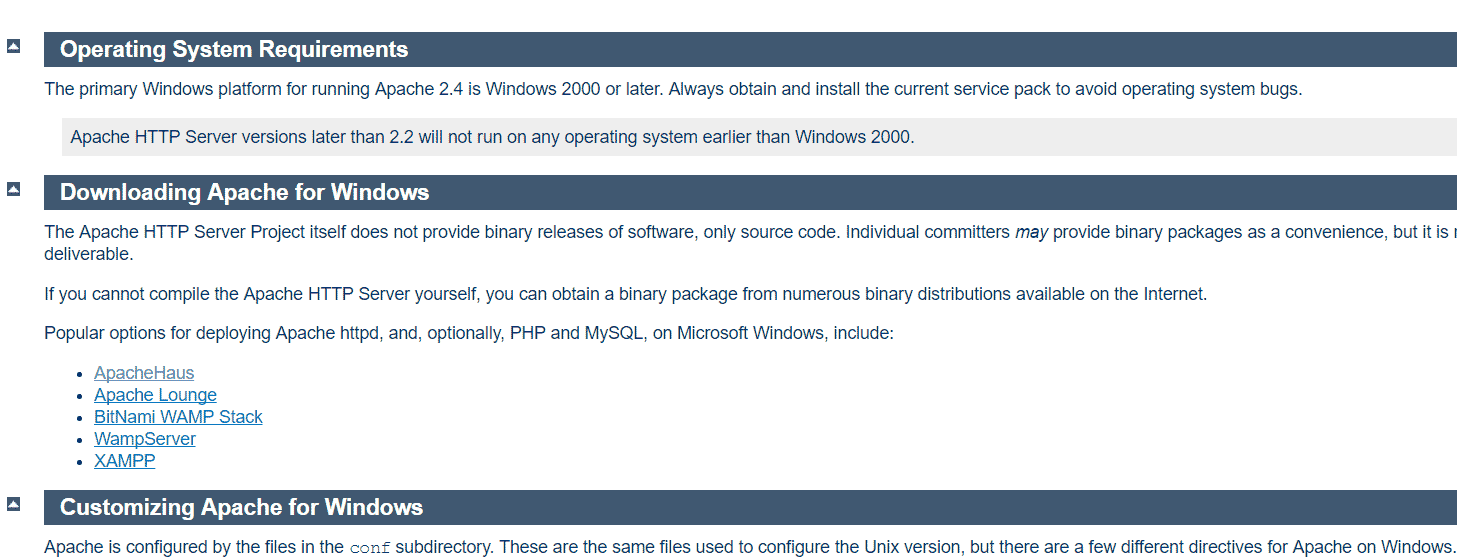
由于apache http server官方不提供二进制(可执行)的发行版,所以我们选择一些贡献者编译完成的版本,我们选择第一个apachehaus
点击apachehaus,进入下载页
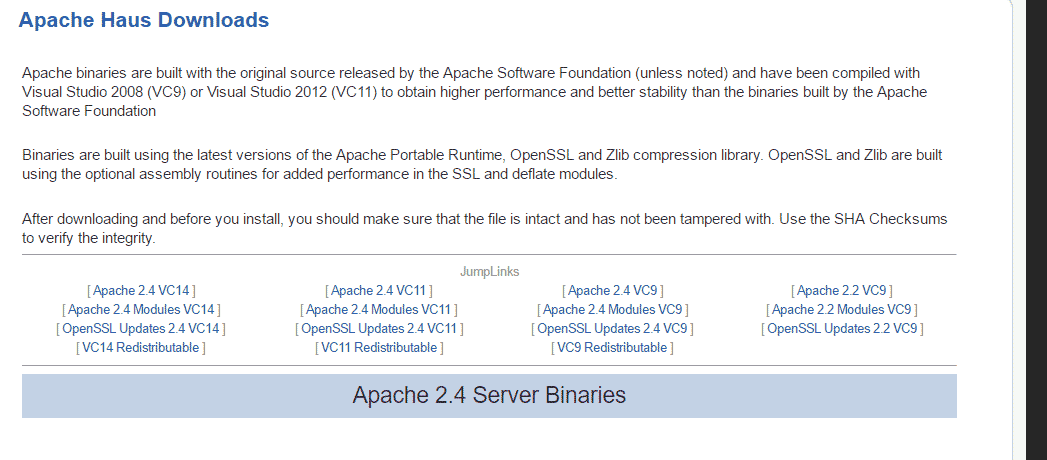
选择其中一个版本,如果你的windows还没安装对应的vc环境的话,选择对应的vcredistribute版本下载安装。我选择apache 2.4vc9版,因为我的电脑中已经安装了vc9的环境。
点击jumplinks下第一行的某一个版本,下载对应压缩包。
2,配置apache之一–httpd.conf
解压后进入里面apache22(最后两位数字可能不同)文件夹,使用文本编辑器(推荐ultraedit)打开conf文件夹中的httpd.conf配置文件
找到serverroot选项,设置apache目录,大约在35行左右,将其改成你的apache程序的文件夹,例:
|
1 |
serverroot "c:/users/mypc/downloads/httpd-2.2.31-x86-r3/apache22" |
找到listen选项,设置端口,大约46行,一般不修改,使用默认80,在开启服务器前请保证80端口未被占用
找到documentroot选项,修改服务器根目录,例:
|
1 |
documentroot "f:/" |
请保证此目录存在,否则服务器无法正常启动
修改directory,保证其与服务器根目录相同,只修改下面的第一行中引号部分
|
1
2
3
4
5
6
7
8
9
10
11
12
13
14
15
16
17
18
19
20
21
22
23
24
25
26
27
28
29 |
<directory "f:/">
#
# possible values for the options directive are "none", "all",
# or any combination of:
# indexes includes followsymlinks symlinksifownermatch execcgi multiviews
#
# note that "multiviews" must be named *explicitly* --- "options all"
# doesn't give it to you.
#
# the options directive is both complicated and important. please see
# http://httpd.apache.org/docs/2.2/mod/core.html#options
# for more information.
#
options indexes followsymlinks
#
# allowoverride controls what directives may be placed in .htaccess files.
# it can be "all", "none", or any combination of the keywords:
# options fileinfo authconfig limit
#
allowoverride none
#
# controls who can get stuff from this server.
#
order allow,deny
allow from all
</directory> |
找到scriptalias选项,设置服务器脚本目录,大约326行,一般将其设置为apache目录下的cgi-bin文件夹
|
1 |
scriptalias /cgi-bin/ "c:/users/mypc/downloads/httpd-2.2.31-x86-r3/apache22/cgi-bin" |
找到随后的directory选项,设置脚本目录,大约342行,需要将其设置为和前面的scriptalias目录相同
|
1
2
3
4
5
6 |
<directory "c:/users/mypc/downloads/httpd-2.2.31-x86-r3/apache22/cgi-bin">
allowoverride none
options none
order allow,deny
allow from all
</directory> |
3,配置apache之二–ssl配置
如果你这使启动服务,一般会出现下面的消息对话框:
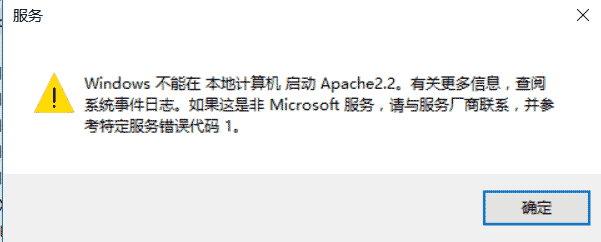
提示
windows不能在本地计算机启动apache2.2。有关更多信息,查阅系统日志文件。如果这是非microsoft服务,请与厂商联系,并参考特定服务器错误代码1。
确定此问题的原因:
右键 计算机,点击管理->windows日志->应用程序,显示如下
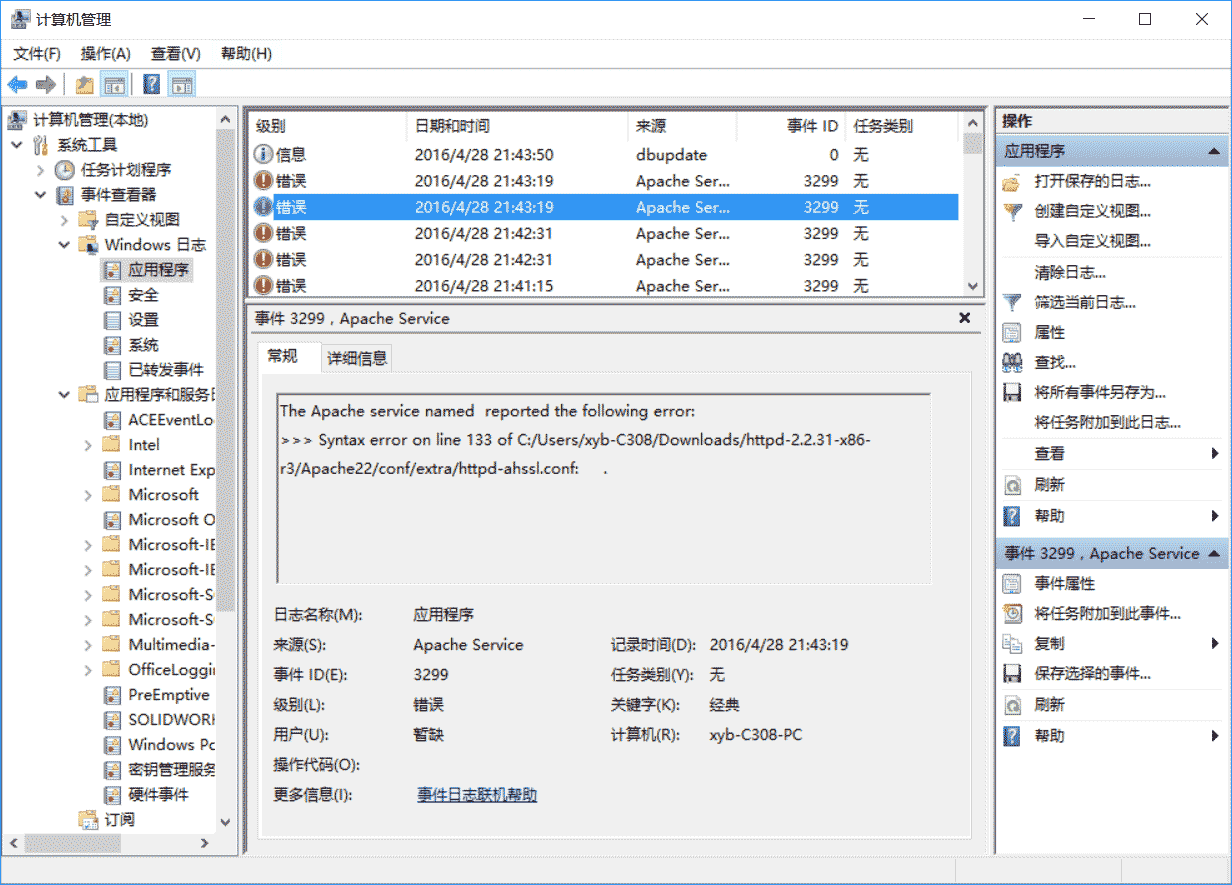
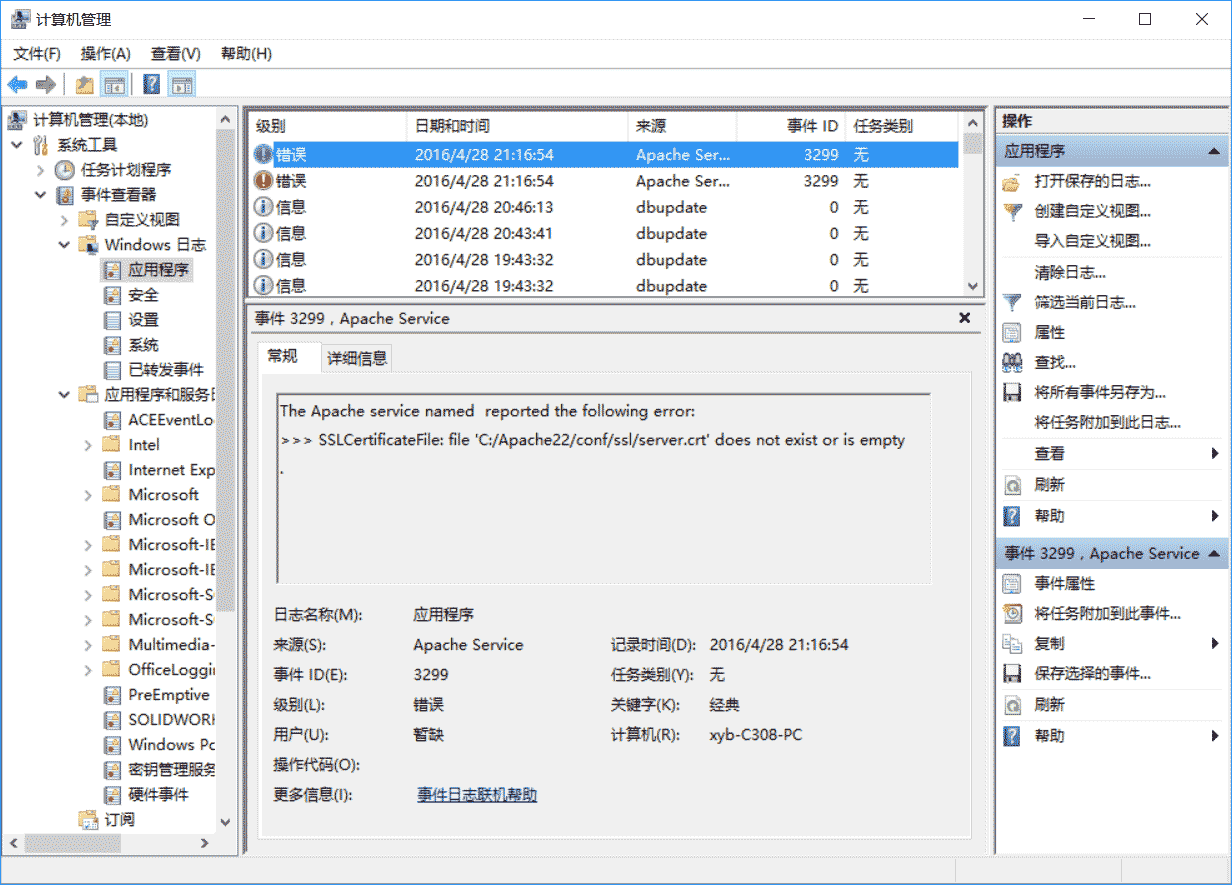
这是由于ssl配置不正确所产生的,下面说一下解决办法。
打开apache程序目录下的conf/extra/httpd-ahssl.conf文件,配置virtualhost选项,有三处名为virtualhost的选项,均需修改。
第一个在107行左右。
在110行左右,将其中的sslcertificatefile改为:apache所在目录/conf/ssl/server.crt
在111行左右,将sslcertificatekeyfile改为:apache所在目录/conf/ssl/server.key
在112行左右,将documentroot改为你的服务器根目录
在126行左右,将customlog改为:apache所在目录/logs/ssl_request.log,这个不改的话也会错。一般会出现如下错误:
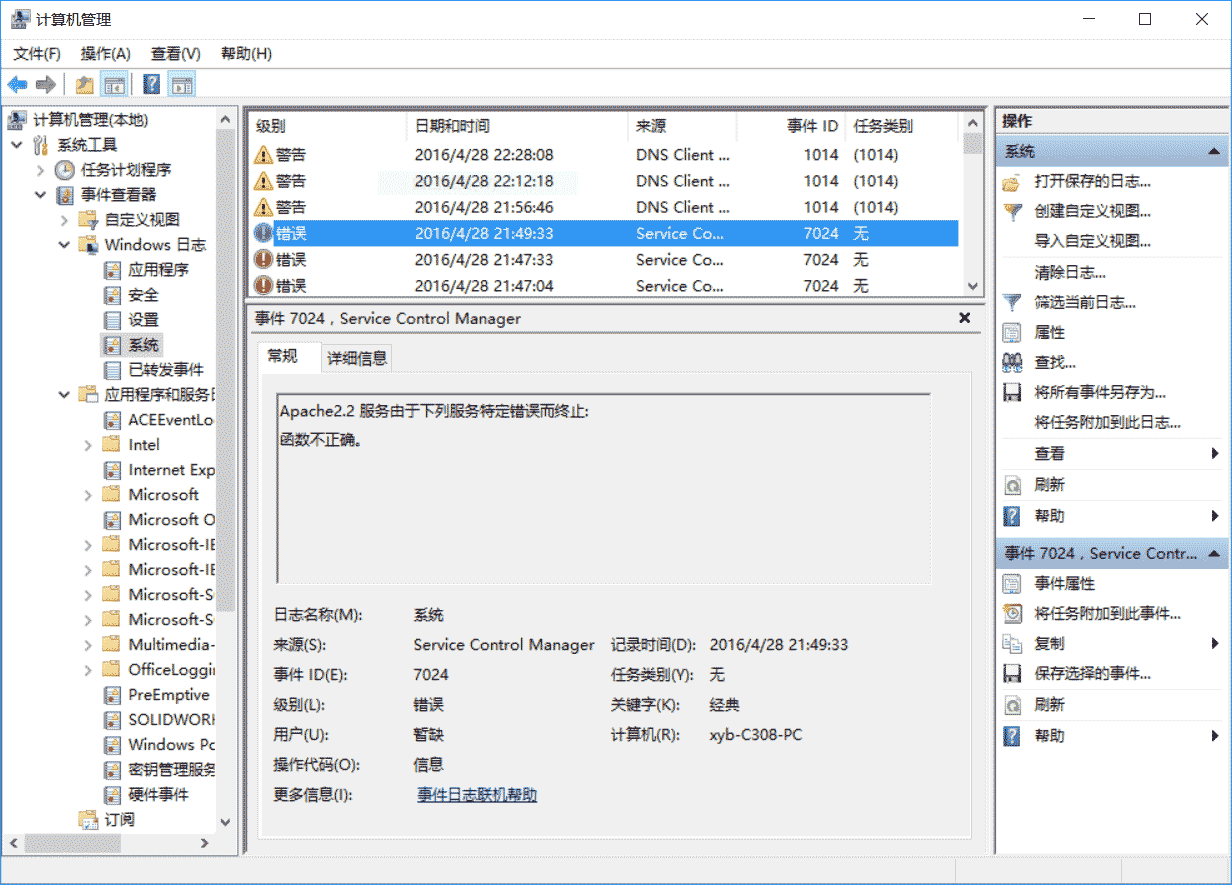
apache2.2服务由于下列服务特定错误而终止:函数不正确。
改成的效果:
|
1
2
3
4
5
6
7
8
9
10
11
12
13
14
15
16
17
18
19
20
21
22 |
<virtualhost _default_:443>
sslengine on
servername localhost:443
sslcertificatefile c:/users/mypc/downloads/httpd-2.2.31-x86-r3/apache22/conf/ssl/server.crt
sslcertificatekeyfile c:/users/mypc/downloads/httpd-2.2.31-x86-r3/apache22/conf/ssl/server.key
documentroot f:/
# openssl req -new > server.csr
# openssl rsa -in privkey.pem -out server.key
# openssl x509 -in server.csr -out server.crt -req -signkey server.key -days 2048
<filesmatch "\\.(cgi|shtml|phtml|php)$">
ssloptions +stdenvvars
</filesmatch>
<directory "/apache22/cgi-bin">
ssloptions +stdenvvars
</directory>
browsermatch "msie [2-5]" \\
nokeepalive ssl-unclean-shutdown \\
downgrade-1.0 force-response-1.0
customlog "c:/users/mypc/downloads/httpd-2.2.31-x86-r3/apache22/logs/ssl_request.log" \\
"%t %h %{ssl_protocol}x %{ssl_cipher}x \\"%r\\" %b"
</virtualhost> |
主要改上文四处地方
在130行和152行还有另外两个virtualhost,均需修改上述的四个选项
例:
130行
|
1
2
3
4
5
6
7
8
9
10
11
12
13
14
15
16
17
18
19
20
21 |
<virtualhost *:443>
sslengine on
servername serverone.tld:443
sslcertificatefile c:/users/mypc/downloads/httpd-2.2.31-x86-r3/apache22/conf/ssl/serverone.crt
sslcertificatekeyfile c:/users/mypc/downloads/httpd-2.2.31-x86-r3/apache22/conf/ssl/serverone.key
documentroot f:/
# openssl req -new > serverone.csr
# openssl rsa -in privkey.pem -out serverone.key
# openssl x509 -in serverone.csr -out serverone.crt -req -signkey serverone.key -days 2048
<filesmatch "\\.(cgi|shtml|phtml|php)$">
ssloptions +stdenvvars
</filesmatch>
<directory "/apache22/cgi-bin">
ssloptions +stdenvvars
</directory>
browsermatch "msie [2-5]" \\
nokeepalive ssl-unclean-shutdown \\
downgrade-1.0 force-response-1.0
customlog "c:/users/mypc/downloads/httpd-2.2.31-x86-r3/apache22/logs/ssl_request.log" \\
"%t %h %{ssl_protocol}x %{ssl_cipher}x \\"%r\\" %b" env=https
</virtualhost> |
第152行
|
1
2
3
4
5
6
7
8
9
10
11
12
13
14
15
16
17
18
19
20
21 |
<virtualhost *:443>
sslengine on
servername servertwo.tld:443
sslcertificatefile c:/users/mypc/downloads/httpd-2.2.31-x86-r3/apache22/conf/ssl/servertwo.crt
sslcertificatekeyfile c:/users/mypc/downloads/httpd-2.2.31-x86-r3/apache22/conf/ssl/servertwo.key
documentroot f:/
# openssl req -new > servertwo.csr
# openssl rsa -in privkey.pem -out servertwo.key
# openssl x509 -in servertwo.csr -out servertwo.crt -req -signkey servertwo.key -days 2048
<filesmatch "\\.(cgi|shtml|phtml|php)$">
ssloptions +stdenvvars
</filesmatch>
<directory "/apache22/cgi-bin">
ssloptions +stdenvvars
</directory>
browsermatch "msie [2-5]" \\
nokeepalive ssl-unclean-shutdown \\
downgrade-1.0 force-response-1.0
customlog "c:/users/mypc/downloads/httpd-2.2.31-x86-r3/apache22/ssl_request.log" \\
"%t %h %{ssl_protocol}x %{ssl_cipher}x \\"%r\\" %b"
</virtualhost> |
上述的两个virtualhost均需修改四处
这样,apache就算配置完了,如果还有问题,可能还需配置./conf/extra/httpd-ssl.conf,配置方法和配置virtualhost的相似
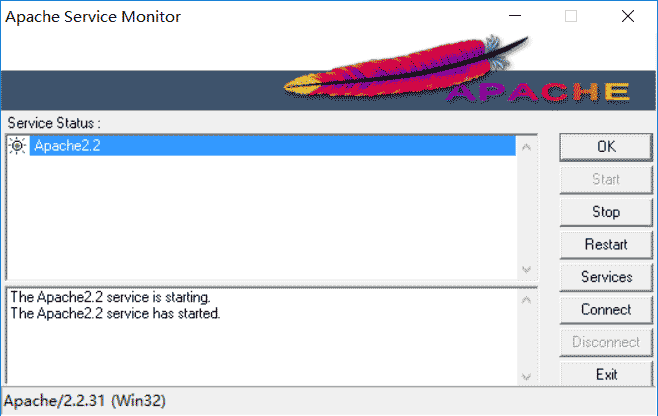
4,启动apache http server
使用windows命令行以管理员身份进入apache程序的文件夹下的bin文件夹,输入httpd -k install,完成apache服务的安装。
然后双击bin目录下的apachemonitor.exe,点击右边的start启动服务器,如果正常,如下图:
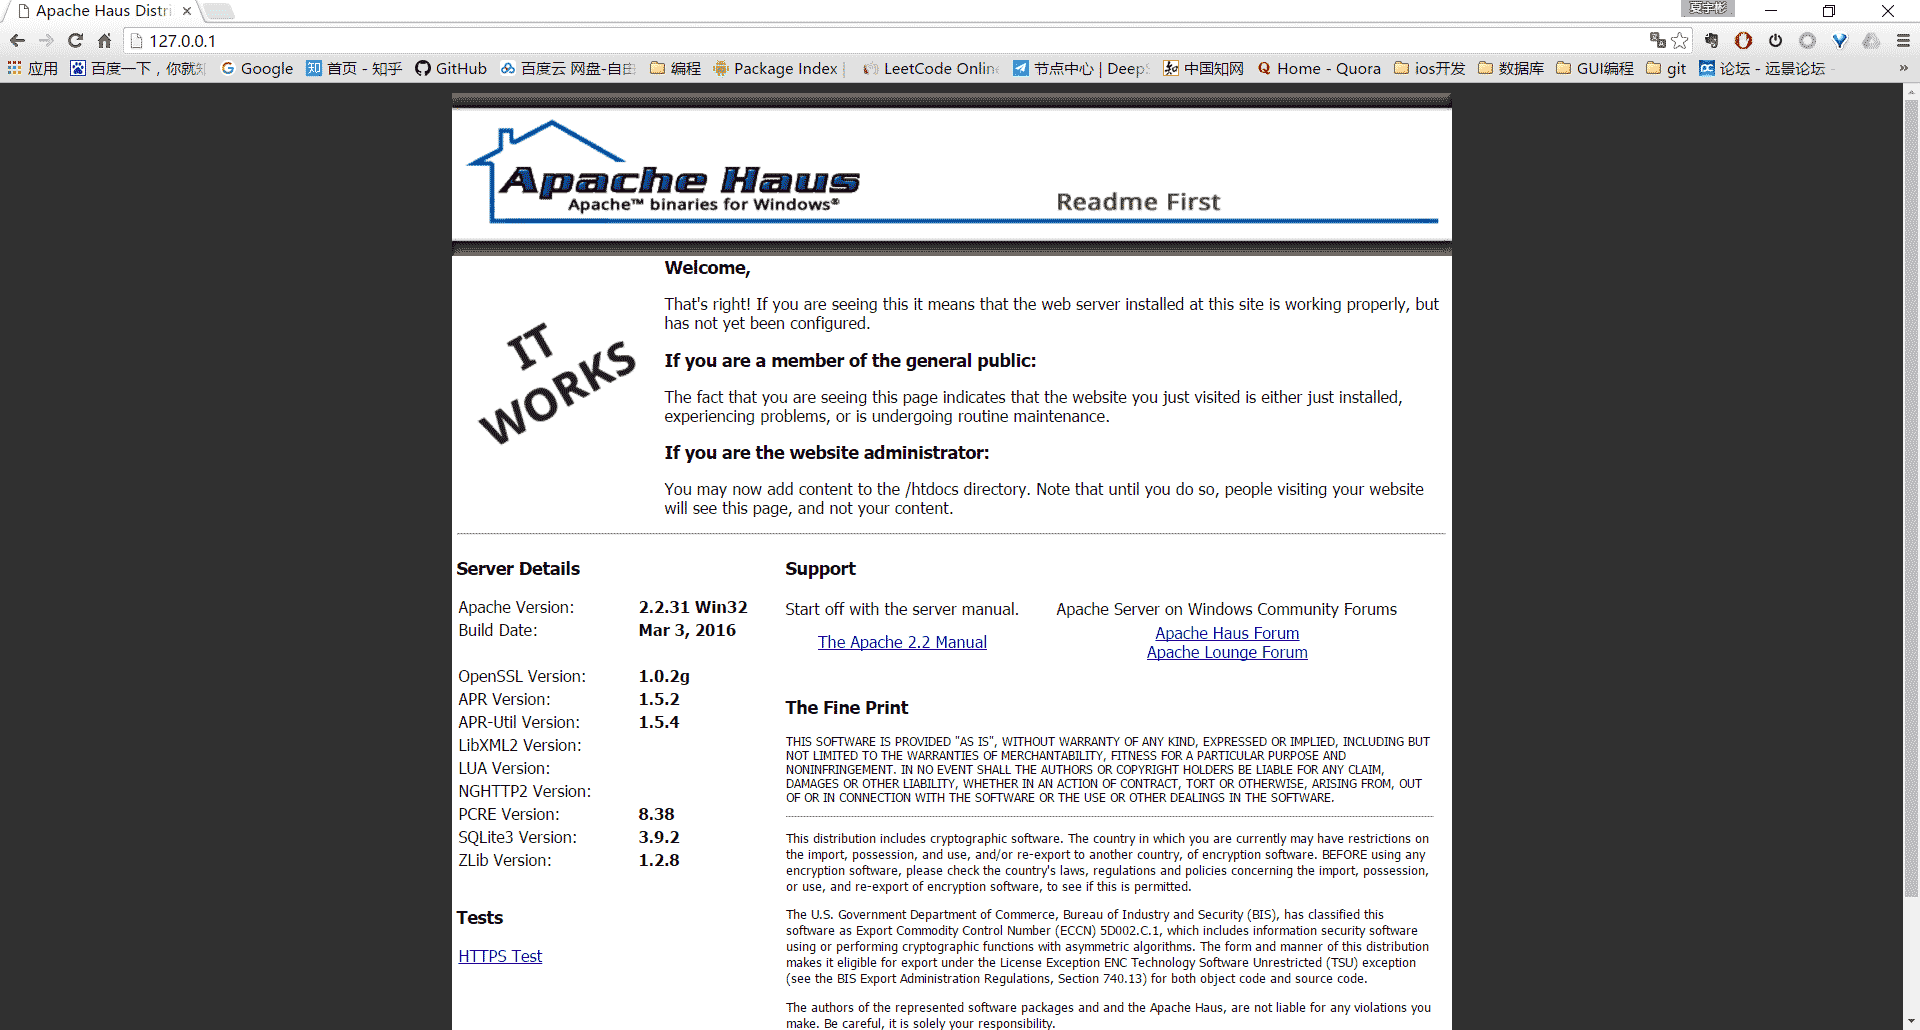
测试一下:
5,其它
卸载apache http server:
管理员身份进入bin目录,使用httpd -k uninstall 移除服务
使用httpd -w -n "apache2" -k start命令启动服务器 可以显示启动过程中的日志,便于分析错误。
原文链接:http://www.cnblogs.com/xyb930826/p/5444718.html

相关文章


- 服务器是租用还是服务器托管好? 2025-05-27
- 什么是DNS以及它如何影响服务器? 2025-05-27
- 刀片服务器与机架服务器的区别介绍 2025-05-27
- 服务器虚拟化技术深度科普 2025-05-27
- 服务器租用价格怎么计算?服务器租用多少钱一年? 2025-05-27