


前言
为什么要写这篇文章呢?是因为最近一直在搞Strve.js生态,在自己捣鼓框架的同时也学到了很多东西。所以就本篇文章给大家介绍一种更加方便灵活的命令行脚手架工具,以及如何发布到NPM上。
之前,我也写过类似的开发命令行工具的文章,但是核心思想都是通过代码远程拉取Git仓库中的项目模板代码。有时候会因为网速的原因导致拉取失败,进而会初始化项目失败。
那么,有没有比这个更好的方案呢?那么本篇就来了。
最近,使用Vite工具开发了很多项目。不得不佩服尤老师惊人的代码能力,创建了这么好的开发工具,开发体验非常丝滑。尤其是你刚初始化项目时,只需要执行一行命令,也不用全局安装什么工具。然后,自定义选择需要的模板进行初始化项目,就大功告成了!这种操作着实把我惊到了!我在想,如果我把create-vite的这种思路应用到我自己的脚手架工具中是不是很Nice!
实战
所以,二话不说,就抓紧打开ViteGitHub地址。
https://github.com/vitejs
找了大半天,终于找到了命令行工具核心代码。
https://github.com/vitejs/vite/tree/main/packages/create-vite
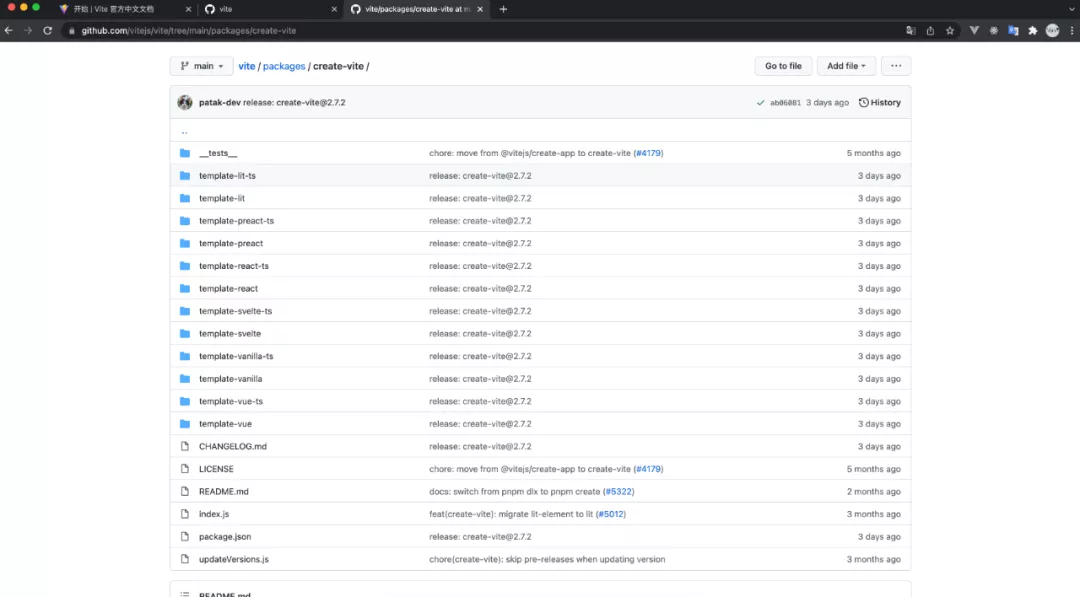
映入眼帘的是很多以template-开头的文件夹,打开几个都看了一下,都是框架项目模板。那么,可以先放在一边。
下一步,我们就打开index.js文件看下什么内容。我列下代码,大家可以简单看一下,不用深究。
- #!/usr/bin/env node
- // @ts-check
- const fs = require(\’fs\’)
- const path = require(\’path\’)
- // Avoids autoconversion to number of the project name by defining that the args
- // non associated with an option ( _ ) needs to be parsed as a string. See #4606
- const argv = require(\’minimist\’)(process.argv.slice(2), { string: [\’_\’] })
- // eslint-disable-next-line node/no-restricted-require
- const prompts = require(\’prompts\’)
- const {
- yellow,
- green,
- cyan,
- blue,
- magenta,
- lightRed,
- red
- } = require(\’kolorist\’)
- const cwd = process.cwd()
- const FRAMEWORKS = [
- {
- name: \’vanilla\’,
- color: yellow,
- variants: [
- {
- name: \’vanilla\’,
- display: \’JavaScript\’,
- color: yellow
- },
- {
- name: \’vanilla-ts\’,
- display: \’TypeScript\’,
- color: blue
- }
- ]
- },
- {
- name: \’vue\’,
- color: green,
- variants: [
- {
- name: \’vue\’,
- display: \’JavaScript\’,
- color: yellow
- },
- {
- name: \’vue-ts\’,
- display: \’TypeScript\’,
- color: blue
- }
- ]
- },
- {
- name: \’react\’,
- color: cyan,
- variants: [
- {
- name: \’react\’,
- display: \’JavaScript\’,
- color: yellow
- },
- {
- name: \’react-ts\’,
- display: \’TypeScript\’,
- color: blue
- }
- ]
- },
- {
- name: \’preact\’,
- color: magenta,
- variants: [
- {
- name: \’preact\’,
- display: \’JavaScript\’,
- color: yellow
- },
- {
- name: \’preact-ts\’,
- display: \’TypeScript\’,
- color: blue
- }
- ]
- },
- {
- name: \’lit\’,
- color: lightRed,
- variants: [
- {
- name: \’lit\’,
- display: \’JavaScript\’,
- color: yellow
- },
- {
- name: \’lit-ts\’,
- display: \’TypeScript\’,
- color: blue
- }
- ]
- },
- {
- name: \’svelte\’,
- color: red,
- variants: [
- {
- name: \’svelte\’,
- display: \’JavaScript\’,
- color: yellow
- },
- {
- name: \’svelte-ts\’,
- display: \’TypeScript\’,
- color: blue
- }
- ]
- }
- ]
- const TEMPLATES = FRAMEWORKS.map(
- (f) => (f.variants && f.variants.map((v) => v.name)) || [f.name]
- ).reduce((a, b) => a.concat(b), [])
- const renameFiles = {
- _gitignore: \’.gitignore\’
- }
- async function init() {
- let targetDir = argv._[0]
- let template = argv.template || argv.t
- const defaultProjectName = !targetDir ? \’vite-project\’ : targetDir
- let result = {}
- try {
- result = await prompts(
- [
- {
- type: targetDir ? null : \’text\’,
- name: \’projectName\’,
- message: \’Project name:\’,
- initial: defaultProjectName,
- onState: (state) =>
- (targetDir = state.value.trim() || defaultProjectName)
- },
- {
- type: () =>
- !fs.existsSync(targetDir) || isEmpty(targetDir) ? null : \’confirm\’,
- name: \’overwrite\’,
- message: () =>
- (targetDir === \’.\’
- ? \’Current directory\’
- : `Target directory \”${targetDir}\”`) +
- ` is not empty. Remove existing files and continue?`
- },
- {
- type: (_, { overwrite } = {}) => {
- if (overwrite === false) {
- throw new Error(red(\’✖\’) + \’ Operation cancelled\’)
- }
- return null
- },
- name: \’overwriteChecker\’
- },
- {
- type: () => (isValidPackageName(targetDir) ? null : \’text\’),
- name: \’packageName\’,
- message: \’Package name:\’,
- initial: () => toValidPackageName(targetDir),
- validate: (dir) =>
- isValidPackageName(dir) || \’Invalid package.json name\’
- },
- {
- type: template && TEMPLATES.includes(template) ? null : \’select\’,
- name: \’framework\’,
- message:
- typeof template === \’string\’ && !TEMPLATES.includes(template)
- ? `\”${template}\” isn\’t a valid template. Please choose from below: `
- : \’Select a framework:\’,
- initial: 0,
- choices: FRAMEWORKS.map((framework) => {
- const frameworkColor = framework.color
- return {
- title: frameworkColor(framework.name),
- value: framework
- }
- })
- },
- {
- type: (framework) =>
- framework && framework.variants ? \’select\’ : null,
- name: \’variant\’,
- message: \’Select a variant:\’,
- // @ts-ignore
- choices: (framework) =>
- framework.variants.map((variant) => {
- const variantColor = variant.color
- return {
- title: variantColor(variant.name),
- value: variant.name
- }
- })
- }
- ],
- {
- onCancel: () => {
- throw new Error(red(\’✖\’) + \’ Operation cancelled\’)
- }
- }
- )
- } catch (cancelled) {
- console.log(cancelled.message)
- return
- }
- // user choice associated with prompts
- const { framework, overwrite, packageName, variant } = result
- const root = path.join(cwd, targetDir)
- if (overwrite) {
- emptyDir(root)
- } else if (!fs.existsSync(root)) {
- fs.mkdirSync(root)
- }
- // determine template
- template = variant || framework || template
- console.log(`\\nScaffolding project in ${root}…`)
- const templateDir = path.join(__dirname, `template-${template}`)
- const write = (file, content) => {
- const targetPath = renameFiles[file]
- ? path.join(root, renameFiles[file])
- : path.join(root, file)
- if (content) {
- fs.writeFileSync(targetPath, content)
- } else {
- copy(path.join(templateDir, file), targetPath)
- }
- }
- const files = fs.readdirSync(templateDir)
- for (const file of files.filter((f) => f !== \’package.json\’)) {
- write(file)
- }
- const pkg = require(path.join(templateDir, `package.json`))
- pkg.name = packageName || targetDir
- write(\’package.json\’, JSON.stringify(pkg, null, 2))
- const pkgInfo = pkgFromUserAgent(process.env.npm_config_user_agent)
- const pkgManager = pkgInfo ? pkgInfo.name : \’npm\’
- console.log(`\\nDone. Now run:\\n`)
- if (root !== cwd) {
- console.log(` cd ${path.relative(cwd, root)}`)
- }
- switch (pkgManager) {
- case \’yarn\’:
- console.log(\’ yarn\’)
- console.log(\’ yarn dev\’)
- break
- default:
- console.log(` ${pkgManager} install`)
- console.log(` ${pkgManager} run dev`)
- break
- }
- console.log()
- }
- function copy(src, dest) {
- const stat = fs.statSync(src)
- if (stat.isDirectory()) {
- copyDir(src, dest)
- } else {
- fs.copyFileSync(src, dest)
- }
- }
- function isValidPackageName(projectName) {
- return /^(?:@[a-z0-9-*~][a-z0-9-*._~]*\\/)?[a-z0-9-~][a-z0-9-._~]*$/.test(
- projectName
- )
- }
- function toValidPackageName(projectName) {
- return projectName
- .trim()
- .toLowerCase()
- .replace(/\\s+/g, \’-\’)
- .replace(/^[._]/, \’\’)
- .replace(/[^a-z0-9-~]+/g, \’-\’)
- }
- function copyDir(srcDir, destDir) {
- fs.mkdirSync(destDir, { recursive: true })
- for (const file of fs.readdirSync(srcDir)) {
- const srcFile = path.resolve(srcDir, file)
- const destFile = path.resolve(destDir, file)
- copy(srcFile, destFile)
- }
- }
- function isEmpty(path) {
- return fs.readdirSync(path).length === 0
- }
- function emptyDir(dir) {
- if (!fs.existsSync(dir)) {
- return
- }
- for (const file of fs.readdirSync(dir)) {
- const abs = path.resolve(dir, file)
- // baseline is Node 12 so can\’t use rmSync 🙁
- if (fs.lstatSync(abs).isDirectory()) {
- emptyDir(abs)
- fs.rmdirSync(abs)
- } else {
- fs.unlinkSync(abs)
- }
- }
- }
- /**
- * @param {string | undefined} userAgent process.env.npm_config_user_agent
- * @returns object | undefined
- */
- function pkgFromUserAgent(userAgent) {
- if (!userAgent) return undefined
- const pkgSpec = userAgent.split(\’ \’)[0]
- const pkgSpecArr = pkgSpec.split(\’/\’)
- return {
- name: pkgSpecArr[0],
- version: pkgSpecArr[1]
- }
- }
- init().catch((e) => {
- console.error(e)
- })
看到上面这么多代码是不是不想继续阅读下去了?不要慌!我们其实就用到里面几个地方,可以放心的继续阅读下去。
这些代码算是Create Vite核心代码了,我们会看到常量FRAMEWORKS定义了一个数组对象,另外数组对象中都是一些我们初始化项目时需要选择安装的框架。所以,我们可以先ViteGithub项目Clone下来,试试效果。
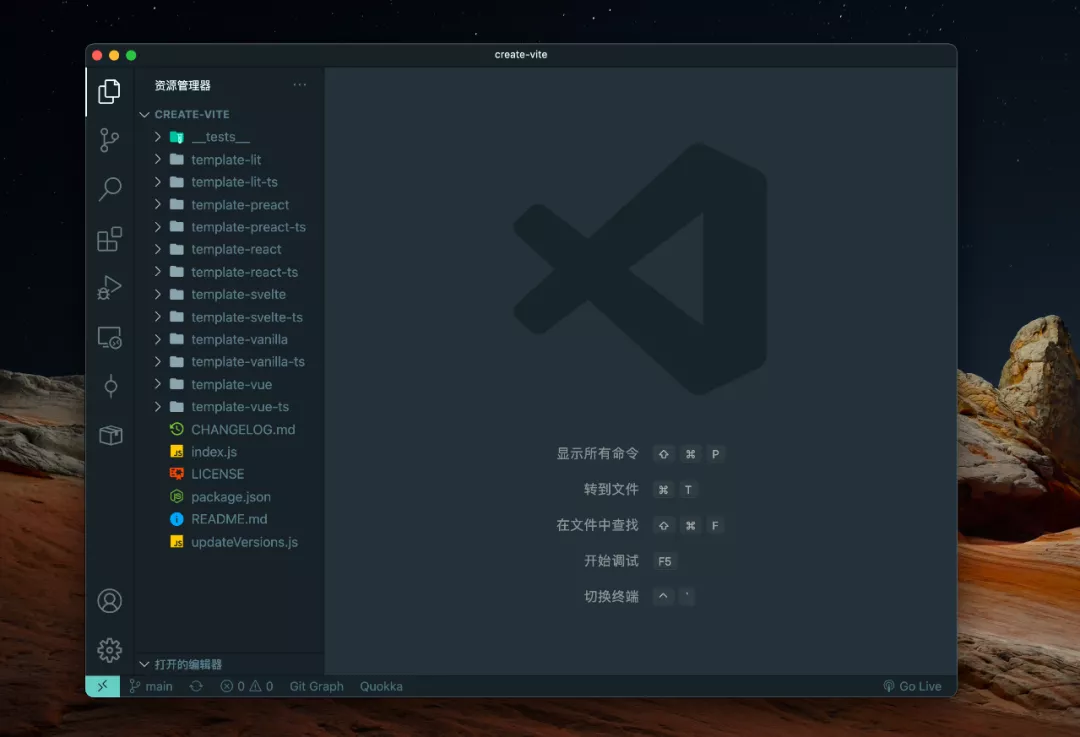
然后,将项目Clone下来之后,我们找到/packages/create-vite这个文件夹,我们现在就只关注这个文件夹。
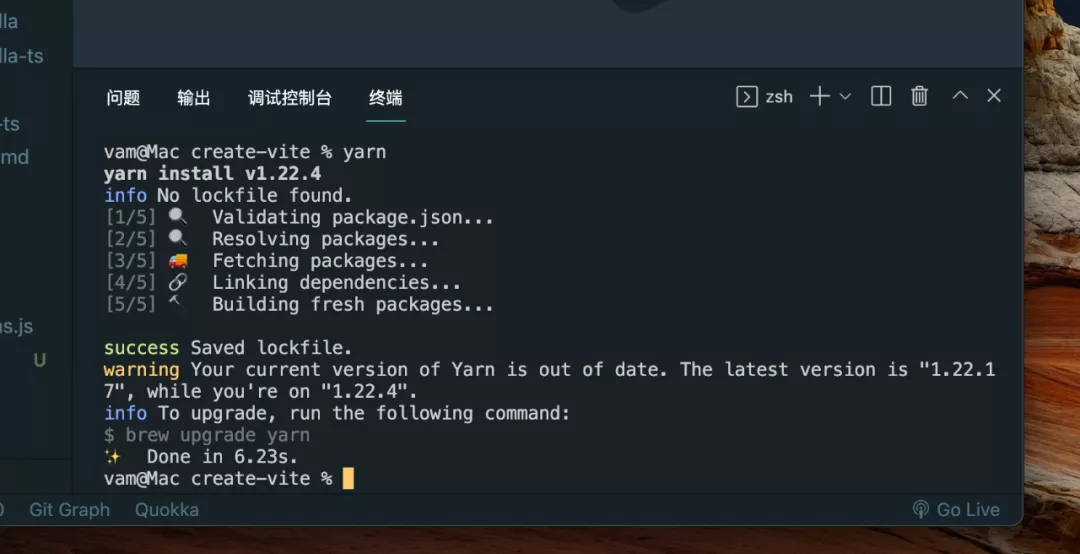
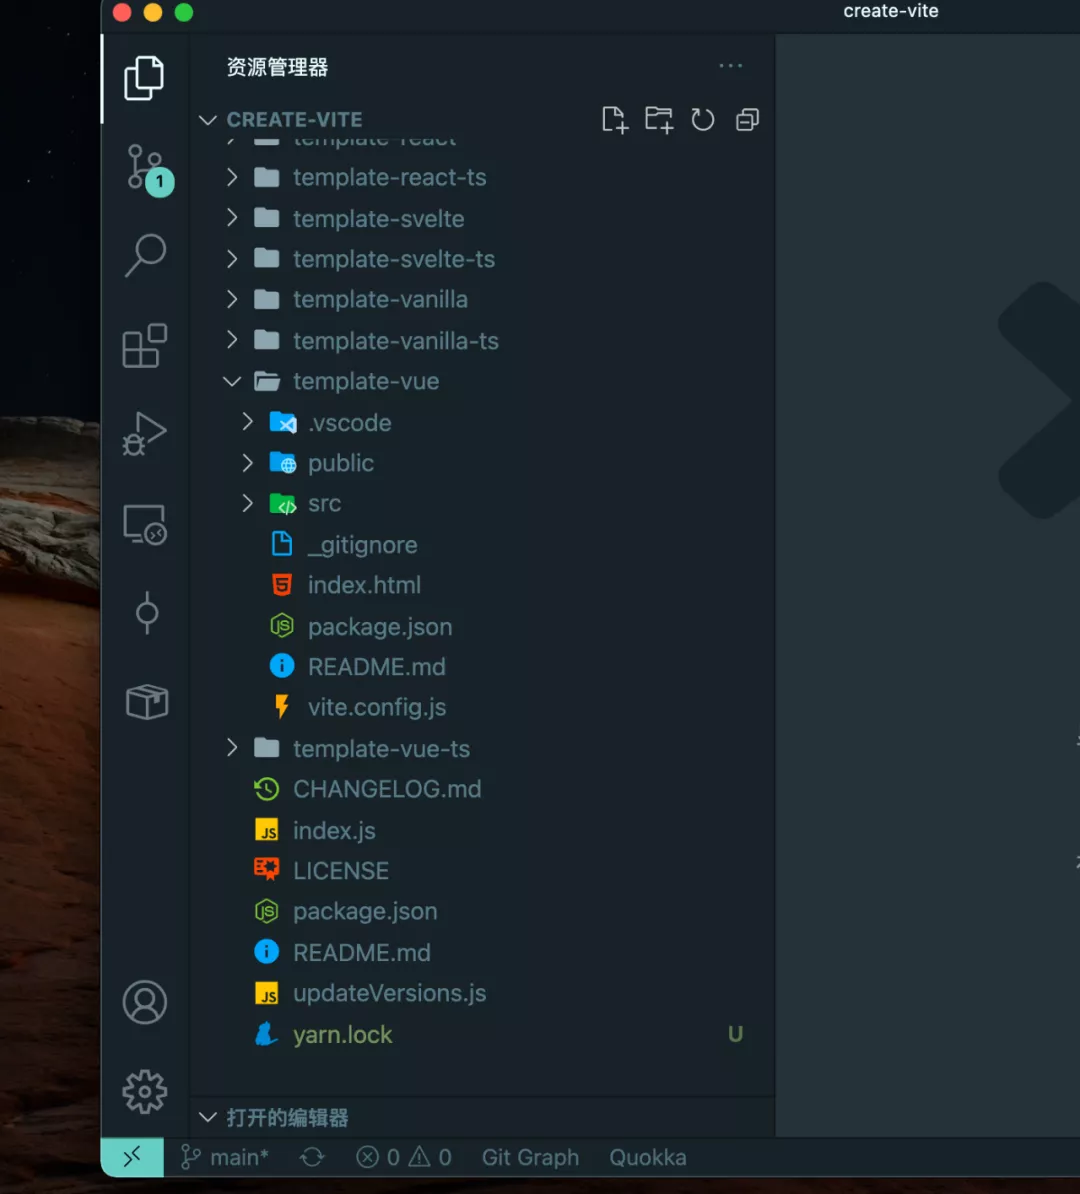
我用的Yarn依赖管理工具,所以我首先使用命令初始化依赖。
- yarn
然后,我们可以先打开根目录下的package.json文件,会发现有如下命令。
- {
- \”bin\”: {
- \”create-vite\”: \”index.js\”,
- \”cva\”: \”index.js\”
- }
- }
我们可以在这里起一个自己模板的名字,比如我们就叫demo,
- {
- \”bin\”: {
- \”create-demo\”: \”index.js\”,
- \”cvd\”: \”index.js\”
- }
- }
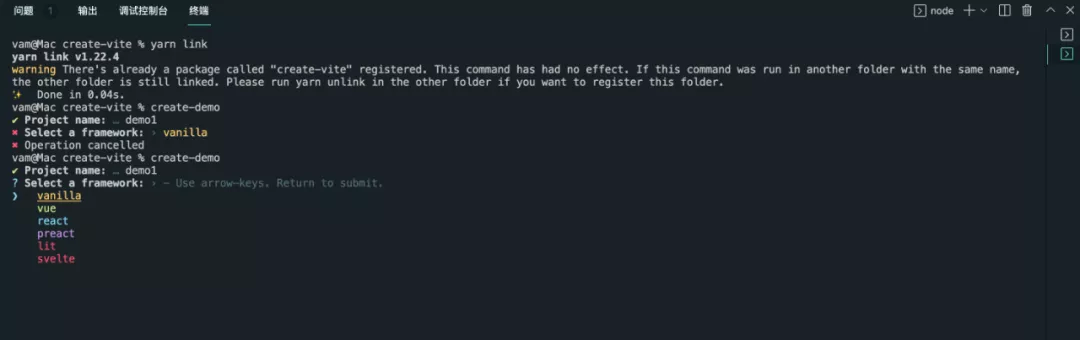
然后,我们先在这里使用yarn link命令来将此命令在本地可以运行。
然后再运行create-demo命令·。

会显示一些交互文本,会发现非常熟悉,这正是我们创建Vite项目时所看到的。我们在前面说到我们想实现一个属于自己的项目模板,现在我们也找到了核心。所以就开始干起来吧!
我们会看到在根目录下有很多template-开头的文件夹,我们打开一个看一下。比如template-vue。
原来模板都在这!但是这些模板文件都是以template-开头,是不是有什么约定?所以,我们打算回头再去看下index.js文件。
- // determine template
- template = variant || framework || template
- console.log(`\\nScaffolding project in ${root}…`)
- const templateDir = path.join(__dirname, `template-${template}`)
果真,所以模板都必须以template-开头。
那么,我们就在根目录下面建一个template-demo文件夹,里面再放一个index.js文件,作为示例模板。
我们在执行初始化项目时发现,需要选择对应的模板,那么这些选项是从哪里来的呢?我们决定再回去看下根目录下的index.js文件。
会发现有这么一个数组,里面正是我们要选择的框架模板。
- const FRAMEWORKS = [
- {
- name: \’vanilla\’,
- color: yellow,
- variants: [
- {
- name: \’vanilla\’,
- display: \’JavaScript\’,
- color: yellow
- },
- {
- name: \’vanilla-ts\’,
- display: \’TypeScript\’,
- color: blue
- }
- ]
- },
- {
- name: \’vue\’,
- color: green,
- variants: [
- {
- name: \’vue\’,
- display: \’JavaScript\’,
- color: yellow
- },
- {
- name: \’vue-ts\’,
- display: \’TypeScript\’,
- color: blue
- }
- ]
- },
- {
- name: \’react\’,
- color: cyan,
- variants: [
- {
- name: \’react\’,
- display: \’JavaScript\’,
- color: yellow
- },
- {
- name: \’react-ts\’,
- display: \’TypeScript\’,
- color: blue
- }
- ]
- },
- {
- name: \’preact\’,
- color: magenta,
- variants: [
- {
- name: \’preact\’,
- display: \’JavaScript\’,
- color: yellow
- },
- {
- name: \’preact-ts\’,
- display: \’TypeScript\’,
- color: blue
- }
- ]
- },
- {
- name: \’lit\’,
- color: lightRed,
- variants: [
- {
- name: \’lit\’,
- display: \’JavaScript\’,
- color: yellow
- },
- {
- name: \’lit-ts\’,
- display: \’TypeScript\’,
- color: blue
- }
- ]
- },
- {
- name: \’svelte\’,
- color: red,
- variants: [
- {
- name: \’svelte\’,
- display: \’JavaScript\’,
- color: yellow
- },
- {
- name: \’svelte-ts\’,
- display: \’TypeScript\’,
- color: blue
- }
- ]
- }
- ]
所以,可以在后面数组后面再添加一个对象。
- {
- name: \’demo\’,
- color: red,
- variants: [
- {
- name: \’demo\’,
- display: \’JavaScript\’,
- color: yellow
- }
- ]
- }
好,你会发现我这里会有个color属性,并且有类似颜色值的属性值,这是依赖kolorist导出的常量。kolorist是一个将颜色放入标准输入/标准输出的小库。我们在之前那些模板交互文本会看到它们显示不同颜色,这正是它的功劳。
- const {
- yellow,
- green,
- cyan,
- blue,
- magenta,
- lightRed,
- red
- } = require(\’kolorist\’)
我们,也将模板对象添加到数组里了,那么下一步我们执行命令看下效果。
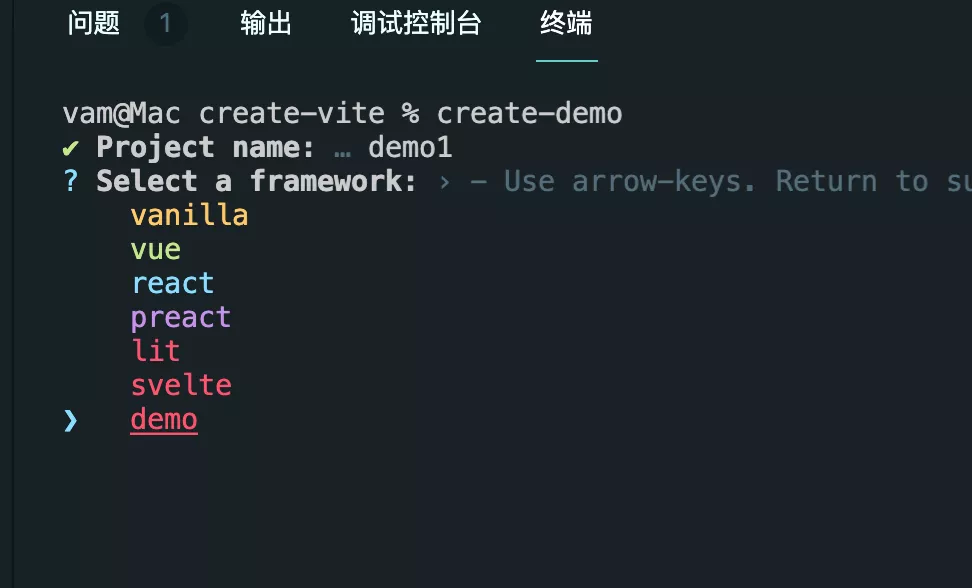
会发现多了一个demo模板,这正是我们想要的。
我们继续执行下去。
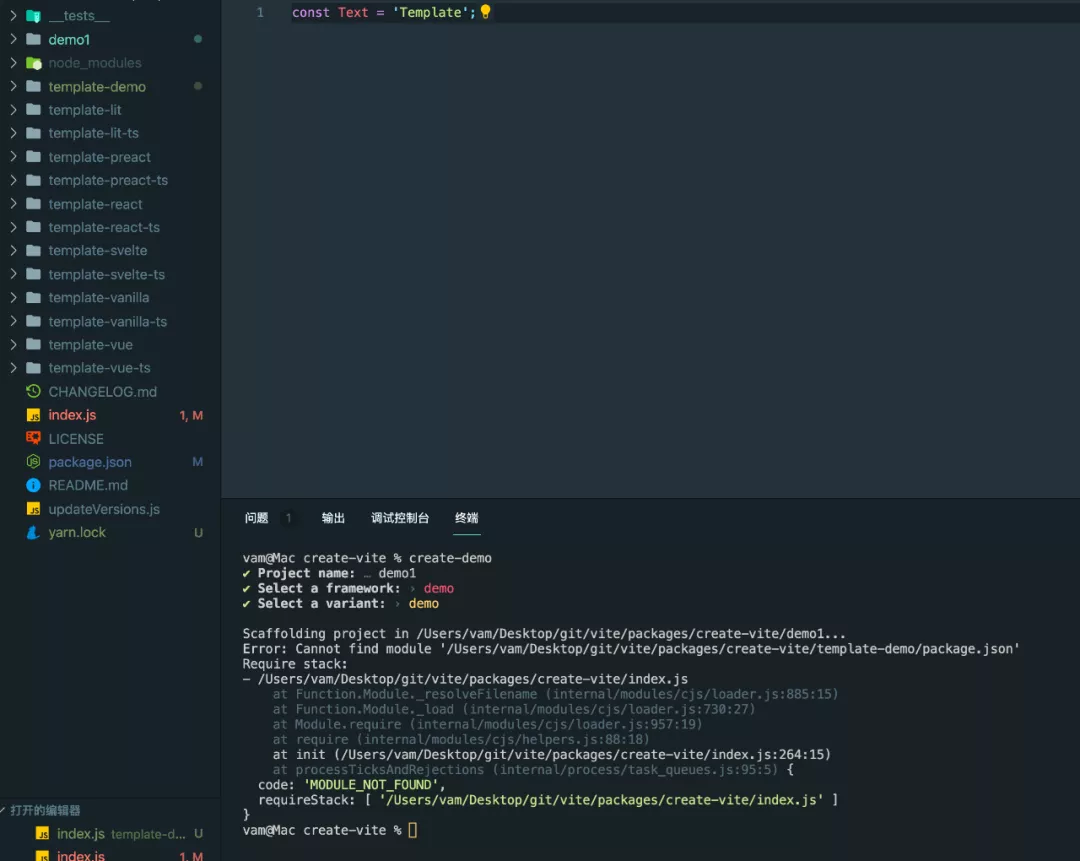
我们会看到根目录下已经成功创建了demo1文件夹,并且里面正是我们想要的demo模板。
上图显示的Error,是因为我没有在demo模板上创建package.json文件,所以这里可以忽略。你可以在自己的模板里创建一个package.json文件。
虽然,我们成功在本地创建了自己的一个模板,但是,我们只能本地创建。也就是说你换台电脑,就没有办法执行这个创建模板的命令。
所以,我们要想办法去发布到云端,这里我们发布到NPM上。
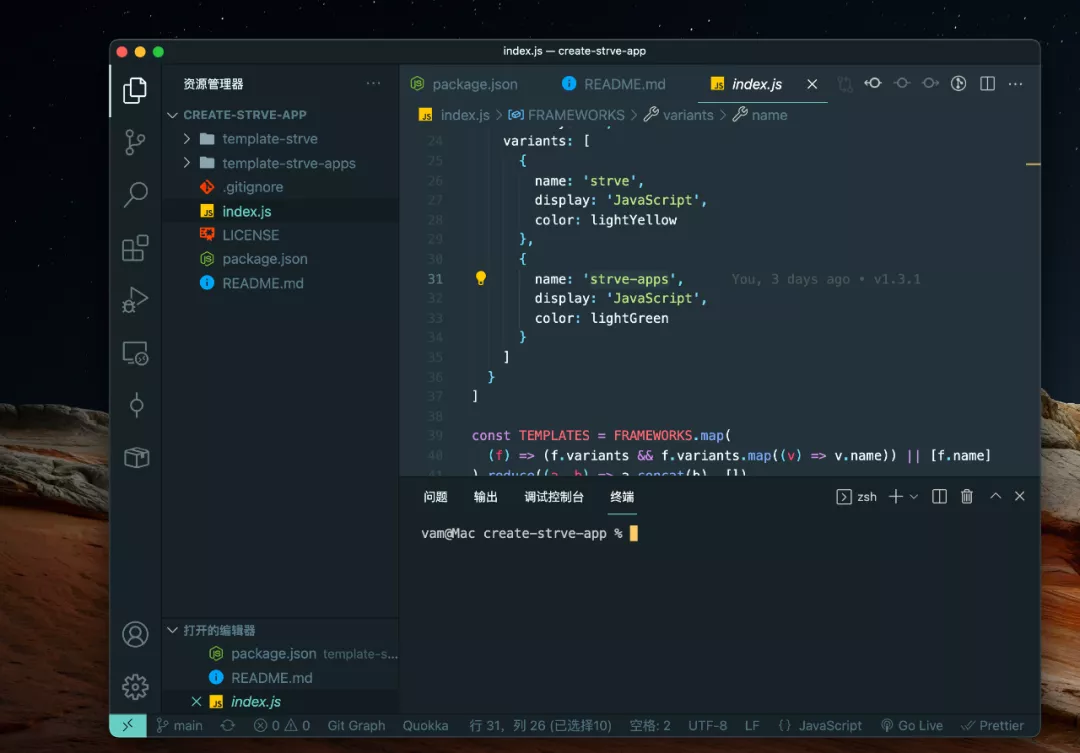
首先,我们重新新建一个项目目录,将其他模板删除,只保留我们自己的模板。另外,将数组中的其他模板对象删除,保留一个自己的模板。
我以自己的模板create-strve-app为例。
然后,我们打开package.json文件,需要修改一些信息。
以create-strve-app为例:
- {
- \”name\”: \”create-strve-app\”,
- \”version\”: \”1.3.3\”,
- \”license\”: \”MIT\”,
- \”author\”: \”maomincoding\”,
- \”bin\”: {
- \”create-strve-app\”: \”index.js\”,
- \”cs-app\”: \”index.js\”
- },
- \”files\”: [
- \”index.js\”,
- \”template-*\”
- ],
- \”main\”: \”index.js\”,
- \”private\”: false,
- \”keywords\”: [\”strve\”,\”strvejs\”,\”dom\”,\”mvvm\”,\”virtual dom\”,\”html\”,\”template\”,\”string\”,\”create-strve\”,\”create-strve-app\”],
- \”engines\”: {
- \”node\”: \”>=12.0.0\”
- },
- \”repository\”: {
- \”type\”: \”git\”,
- \”url\”: \”git+https://github.com/maomincoding/create-strve-app.git\”
- },
- \”bugs\”: {
- \”url\”: \”https://github.com/maomincoding/create-strve-app/issues\”
- },
- \”homepage\”: \”https://github.com/maomincoding/create-strve-app#readme\”,
- \”dependencies\”: {
- \”kolorist\”: \”^1.5.0\”,
- \”minimist\”: \”^1.2.5\”,
- \”prompts\”: \”^2.4.2\”
- }
- }
注意,每次发布前,version字段必须与之前不同,否则发布失败。
最后,我们依次运行如下命令。
切换到npm源
- npm config set registry=https://registry.npmjs.org
登录NPM(如果已登录,可忽略此步)
- npm login
发布NPM
- npm publish
我们可以登录到NPM(https://www.npmjs.com/)
查看已经发布成功!
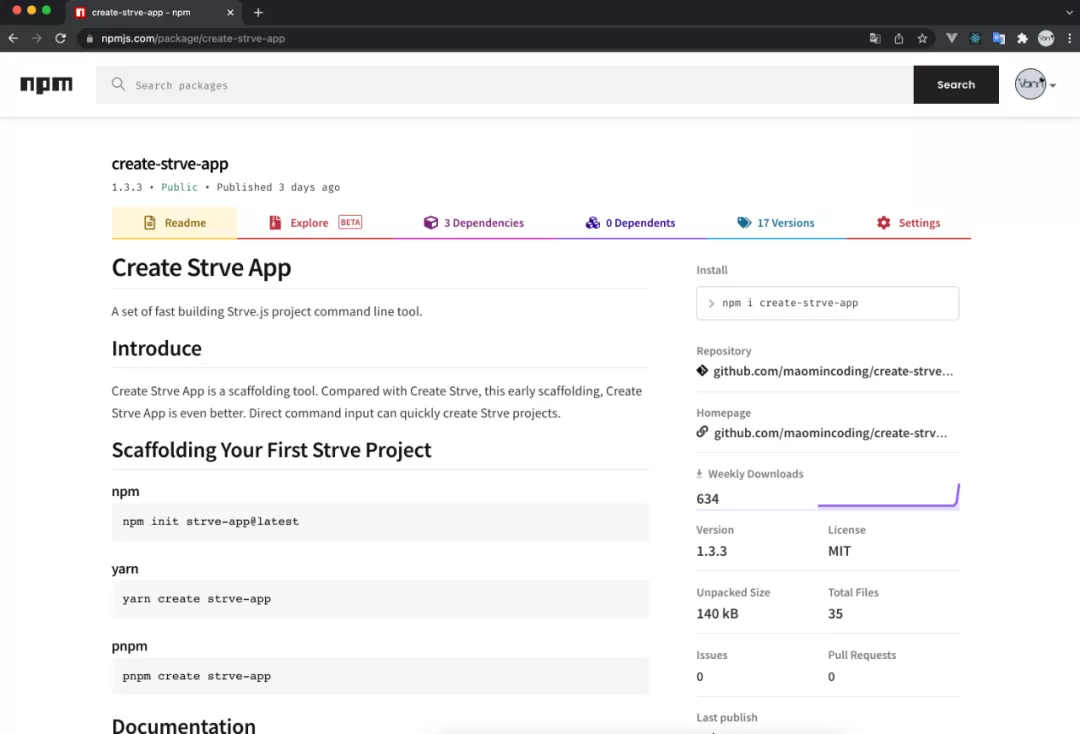
以后,我们就可以直接运行命令下载自定义模板。这在我们重复使用模板时非常有用,不仅可以提升效率,而且还可以避免犯很多不必要的错误。
结语
另外,此篇举例的 Create Strve App 是一套快速搭建Strve.js项目的命令行工具。如果你对此感兴趣,可以访问以下地址查看源码:
https://github.com/maomincoding/create-strve-app
熬夜奋战二个多月,Strve.js生态初步已经建成,以下是Strve.js 最新文档地址,欢迎浏览。
https://maomincoding.github.io/strvejs-doc/
原文链接:https://mp.weixin.qq.com/s/2ndyBAQZRro4-9NonHPP2Q


