php文件上传原理是通过form表单的enctype="multipart/form-data"属性将文件临时放到wamp文件夹中的tmp目录下,再通过后台php程序将文件保存在体统中。
html代码:
?
|
1
2
3
4
|
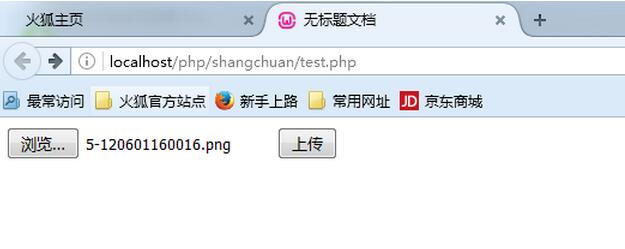
<form action="shangchuan.php" method="post" enctype="multipart/form-data">
<input type="file" name="file" />
<input type="submit" value="上传" />
</form>
|
后台处理界面(shangchuan.php):
有以下几点需要注意:
1.控制上传文件的类型
2.控制上传文件的大小
3.防止文件名重复
修改保存的文件名
用户名+时间戳+随机数+文件名
流水号
使用文件夹要提前建好路径。
4.保存文件
?

|
1
2
3
4
5
6
7
8
9
10
11
12
13
14
15
16
17
18
19
20
21
22
23
24
25
26
27
28
29
30
31
32
|
//判断文件上传是否出错
if($_files["file"]["error"])
{
echo $_files["file"]["error"];
}
else
{
//控制上传文件的类型,大小
if(($_files["file"]["type"]=="image/jpeg" || $_files["file"]["type"]=="image/png") && $_files["file"]["size"]<1024000)
{
//找到文件存放的位置
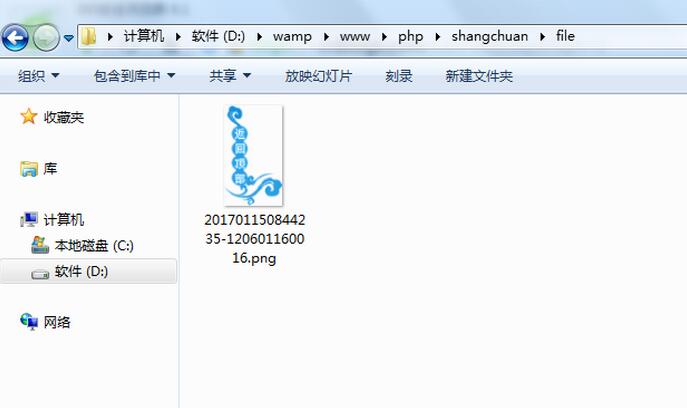
$filename = "./file/".date("ymdhis").$_files["file"]["name"];
//转换编码格式
$filename = iconv("utf-8","gb2312",$filename);
//判断文件是否存在
if(file_exists($filename))
{
echo "该文件已存在!";
}
else
{
//保存文件
move_uploaded_file($_files["file"]["tmp_name"],$filename);
}
}
else
{
echo "文件类型不正确!";
}
}
|
点击上传后文件就保存在系统的指定路径下。
保存后按照指定方法重命名文件名:
原理:在html界面做一个头像大小的div,设置上传头像的背景,在div里面做一个上传文件的input,透明度设置为0.
这样,点击这个div就可以跟上传的效果相同。
?
|
1
2
3
4
5
6
7
8
9
10
11
12
13
14
15
16
17
18
19
20
21
22
23
24
25
26
27
28
29
30
31
32
33
34
35
36
37
38
39
40
41
|
<title>无标题文档</title>
<style type="text/css">
#yl{ width:200px; height:300px; background-image:url(img/11.png); background-size:200px 300px;}
#file{ width:200px; height:300px; float:left; opacity:0;}
</style>
</head>
<body>
<form id="sc" action="chuli.php" method="post" enctype="multipart/form-data" target="shangchuan">
<input type="hidden" name="tp" value="" id="tp" />
<div id="yl">
<input type="file" name="file" id="file" onchange="document.getelementbyid('sc').submit()" />
</div>
</form>
<iframe style="display:none" name="shangchuan" id="shangchuan">
</iframe>
</body>
<script type="text/javascript">
//回调函数,调用该方法传一个文件路径,该变背景图
function showimg(url)
{
var div = document.getelementbyid("yl");
div.style.backgroundimage = "url("+url+")";
document.getelementbyid("tp").value = url;
}
</script>
</html>
|
?
|
1
2
3
4
5
6
7
8
9
10
11
12
13
14
15
16
17
18
19
20
21
22
23
24
25
26
27
28
29
|
<?php
if($_files["file"]["error"])
{
echo $_files["file"]["error"];
}
else
{
if(($_files["file"]["type"]=="image/jpeg" || $_files["file"]["type"]=="image/png")&& $_files["file"]["size"]<1024000)
{
$fname = "./img/".date("ymdhis").$_files["file"]["name"];
$filename = iconv("utf-8","gb2312",$fname);
if(file_exists($filename))
{
echo "<script>alert('该文件已存在!');</script>";
}
else
{
move_uploaded_file($_files["file"]["tmp_name"],$filename);
unlink($_post["tp"]);
echo "<script>parent.showimg('{$fname}');</script>";
}
}
}
|
以上就是本文的全部内容,希望对大家的学习有所帮助,也希望大家多多支持快网idc。

相关文章


猜你喜欢
- 个人服务器网站搭建:如何选择适合自己的建站程序或框架? 2025-06-10
- 64M VPS建站:能否支持高流量网站运行? 2025-06-10
- 64M VPS建站:怎样选择合适的域名和SSL证书? 2025-06-10
- 64M VPS建站:怎样优化以提高网站加载速度? 2025-06-10
- 64M VPS建站:是否适合初学者操作和管理? 2025-06-10