

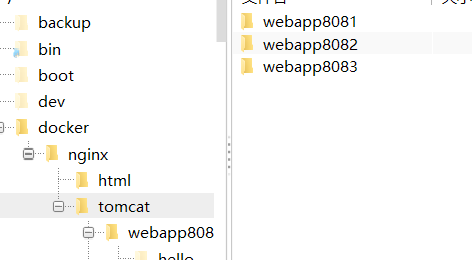
首先创建tomcat的文件夹 ,为了方便docker的配置 我这里直接在根目录中创建第一步:创建文件夹:发布文件夹
|
1
2
3
4
5 |
mkdir -p /docker/tomcat/webapp8081
mkdir -p /docker/tomcat/webapp8082
mkdir -p /docker/tomcat/webapp8083 |
第二步:创建tomcat容器(端口 可以根据自己的实际更换)
|
1
2
3 |
docker run -d --name tomcat8081 -p 8081:8080 -v /docker/tomcat/webapp8081:/usr/local/tomcat/webapps/ tomcat
docker run -d --name tomcat8082 -p 8082:8080 -v /docker/tomcat/webapp8082:/usr/local/tomcat/webapps/ tomcat
docker run -d --name tomcat8083 -p 8083:8080 -v /docker/tomcat/webapp8083:/usr/local/tomcat/webapps/ tomcat |
创建完成后使用 docker ps 命令进行查看是否创建成功 并且使用

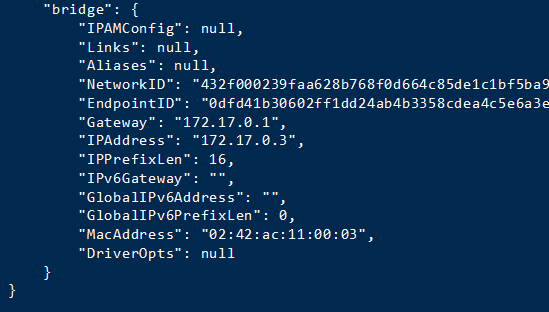
第三步:查看tomcat的ip 使用命令依次查询 这里只使用第一个举例
docker inspect tomcat8081
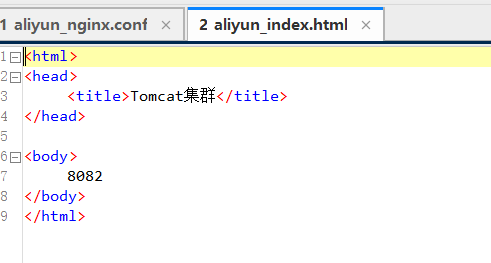
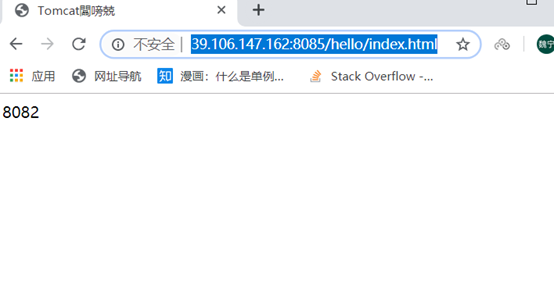
第四步:为了方便测试 我这里就不上传war包了,直接 在里面创建了一个hello/index.html 文件
注意:如果nginx为docker容器,必须使用tomact容器ip,否则连不上
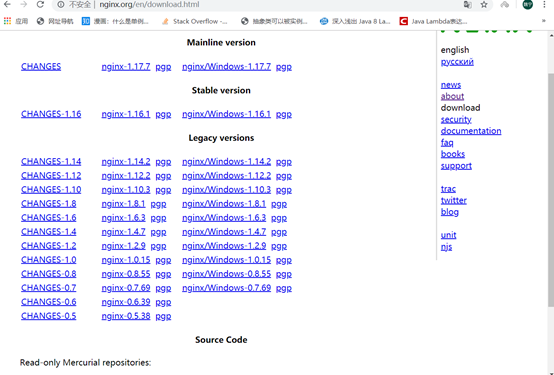
首先在官网上下载nginx的官方版本
官网:http://nginx.org/en/
点击右边导航栏的download,进入下载界面 选择对应的版本 进行下载,我这里就使用nginx-1.6.2.tar
下载完成后,将文件放到自定义的文件夹,我这里放到/usr/local/tools/nginx-1.6.2

使用 这个命令将nginx 解压:
tar vxf nginx-1.6.2.tar.gz
解压完成后,我这里是返回根目录,在根目录创建一个宿主文件夹,目的是为了创建文件,使得nginx可以挂载(你也可以自定义)
创建宿主文件夹 这里
|
1
2
3 |
mkdir -p /docker/nginx/
vim /docker/nginx/nginx.conf
mkdir -p /docker/nginx/html |
拷贝页面你解压的negix中的html文件夹中的index.html 50x.html到/docker/nginx/html文件夹中
这里提供一种negix的conf文件,以为加上注解 所以格式可能会发生改变 记得把注解删了
nginx.conf:
user root;
worker_processes 2; #这里设置你的线程数
|
1
2
3
4
5
6
7
8
9
10
11
12
13
14
15
16
17
18
19
20
21
22
23
24
25
26
27
28
29
30
31
32
33
34
35
36
37
38
39
40
41
42
43
44
45
46
47
48
49
50
51
52
53
54
55
56
57
58
59
60
61
62
63
64
65
66
67
68
69
70
71
72
73
74
75
76
77
78
79
80
81
82
83
84
85
86
87
88
89
90
91
92
93
94 |
#error_log logs/error.log;
#error_log logs/error.log notice;
#error_log logs/error.log info;
#pid logs/nginx.pid;
events {
worker_connections 1024; #最大连接数量
}
http {
include mime.types;
default_type application/octet-stream;
upstream mytomcat{
server 172.17.0.3:8080 weight=10;
# 另外mytomcat 这里名字和下方的名字保持一致 这里需要和你的tomcat ip保持一致
server 172.17.0.4:8080 weight=50;
server 172.17.0.5:8080 weight=10;
}
#log_format main '$remote_addr - $remote_user [$time_local] "$request" '
# '$status $body_bytes_sent "$http_referer" '
# '"$http_user_agent" "$http_x_forwarded_for"';
#access_log logs/access.log main;
sendfile on;
#tcp_nopush on;
#keepalive_timeout 0;
keepalive_timeout 65;
#gzip on;
server {
listen 80;
server_name mytomcat;
#charset koi8-r;
#access_log logs/host.access.log main;
location / {
# root html;
# index index.html index.htm;
proxy_connect_timeout 50;
proxy_read_timeout 10;
proxy_send_timeout 20;
proxy_pass http://mytomcat;
}
#error_page 404 /404.html;
# redirect server error pages to the static page /50x.html
#
error_page 500 502 503 504 /50x.html;
location = /50x.html {
root html;
}
# proxy the php scripts to apache listening on 127.0.0.1:80
#
#location ~ \\.php$ {
# proxy_pass http://127.0.0.1;
#}
# pass the php scripts to fastcgi server listening on 127.0.0.1:9000
#
#location ~ \\.php$ {
# root html;
# fastcgi_pass 127.0.0.1:9000;
# fastcgi_index index.php;
# fastcgi_param script_filename /scripts$fastcgi_script_name;
# include fastcgi_params;
#}
# deny access to .htaccess files, if apache's document root
# concurs with nginx's one
#
#location ~ /\\.ht {
# deny all;
#}
}
# another virtual host using mix of ip-, name-, and port-based configuration
#
#server {
# listen 8000;
# listen somename:8080;
# server_name somename alias another.alias;
# location / {
# root html;
# index index.html index.htm;
# }
#}
# https server
#
#server {
# listen 443 ssl;
# server_name localhost;
# ssl_certificate cert.pem;
# ssl_certificate_key cert.key;
# ssl_session_cache shared:ssl:1m;
# ssl_session_timeout 5m;
# ssl_ciphers high:!anull:!md5;
# ssl_prefer_server_ciphers on;
# location / {
# root html;
# index index.html index.htm;
# }
#}
} |
使用docker 启动
创建并运行容器
81:是外网访问的端口 这里可以根据实际做修改
/docker/nginx/nginx.conf 本地的宿主文件
/etc/nginx/nginx.conf 解压的目录(也可以不更改)
/docker/nginx/html 本地的宿主文件
/usr/share/nginx/html 解压的目录
|
1 |
docker run -d --name nginx81 -p 81:80 -v /docker/nginx/nginx.conf:/etc/nginx/nginx.conf -v /docker/nginx/html:/usr/share/nginx/html nginx |
测试
http://39.106.147.162:8085/hello/index.html 我这里配置的是8085端口
直接访问
总结
以上所述是小编给大家介绍的docker使用nginx搭建tomcat集群的教程,希望对大家有所帮助!
原文链接:https://www.cnblogs.com/anonymityning/archive/2019/12/30/12119055.html

相关文章


