关于nginx的相关介绍我就不说了,既然你选择nginx作为你的web服务器,想必你多少也对nginx server有不同认知和理解,接下来我就直接安装。
1.先决条件:
我使用的是centos7.3 64位核心版系统,安装配置nginx前必须安装nginx依赖包,请查看;Centos 7编译安装php7.1之生产篇,并安装前文开头所提供的依赖包。此依赖组件包适用于Nginx任意版本。
新建web用户和组
|
1
2
3 |
$ /usr/sbin/groupadd www
$ /usr/sbin/useradd -g www www
$ ulimit -SHn 65535 //设置linux高负载参数 |
2.从官方下载Nginx以及OpenSSL
下载Nginx时有两个版本:开发版和稳定版,如果用于生产就下载稳定版本,http://nginx.org/en/download.html (最好下载最新版本的稳定版,这样会有bug修复以及新特性)我下载的是就是目前最新版本nginx-1.13.5。
|
1
2
3
4
5
6 |
$ cd /tmp
$ wget https://www.openssl.org/source/openssl-1.1.0e.tar.gz
$ tar zxvf openssl-1.1.0e.tar.gz
$ wget https://nginx.org/download/nginx-1.13.5.tar.gz
$ tar zxvf nginx-1.13.5.tar.gz
$ cd nginx-1.13.5 |
3.安装Nginx
你可能会注意到有些文档教程安装nginx的时候,并未指派这么多模块,(看起来好长),有的连模块和用户都没有指派,其实模块是根据自己的需要指派的, 如果想以后不麻烦,那么就按照下面的模块指派就行了,其实这也算是全能的了,不然后期你需要什么还得重新编译进去,不是很麻烦,但也不省事。至于是否指派用户组,我坚决会让你指派,这可关乎nginx配置的可用性和安全稳定。
|
1
2
3
4
5
6
7
8
9
10
11
12
13
14
15
16
17
18
19
20
21
22
23
24
25
26
27
28 |
$ ./configure
--prefix=/usr/local/nginx
--user=www
--group=www
--with-pcre
--with-openssl=/tmp/openssl-1.1.0e
--with-http_ssl_module
--with-http_v2_module
--with-http_realip_module
--with-http_addition_module
--with-http_sub_module
--with-http_dav_module
--with-http_flv_module
--with-http_mp4_module
--with-http_gunzip_module
--with-http_gzip_static_module
--with-http_random_index_module
--with-http_secure_link_module
--with-http_stub_status_module
--with-http_auth_request_module
--with-http_image_filter_module
--with-http_slice_module
--with-mail
--with-threads
--with-file-aio
--with-stream
--with-mail_ssl_module
--with-stream_ssl_module |
|
1 |
$ make -j8 && make install //编译并安装 |
4.创建 systemctl 系统 Nginx 单元文件
安装完成后还需要开机自启动,不然每次开机都需要手动,那岂不是太麻烦。
|
1
2
3
4
5
6
7
8
9
10
11
12
13
14
15
16
17 |
$ vim /usr/lib/systemd/system/nginx.service
[Unit]
Description=The nginx HTTP and reverse proxy server
After=syslog.target network.target remote-fs.target nss-lookup.target
[Service]
Type=forking
PIDFile=/usr/local/nginx/logs/nginx.pid
ExecStartPre=/usr/local/nginx/sbin/nginx -t
ExecStart=/usr/local/nginx/sbin/nginx
ExecReload=/bin/kill -s HUP /usr/local/nginx/logs/nginx.pid
ExecStop=/bin/kill -s QUIT /usr/local/nginx/logs/nginx.pid
PrivateTmp=true
[Install]
WantedBy=multi-user.target |
保存并退出。
5.加入开机自启动并启动Nginx
|
1
2 |
$ systemctl enable nginx.service
$ systemctl restart nginx.service |
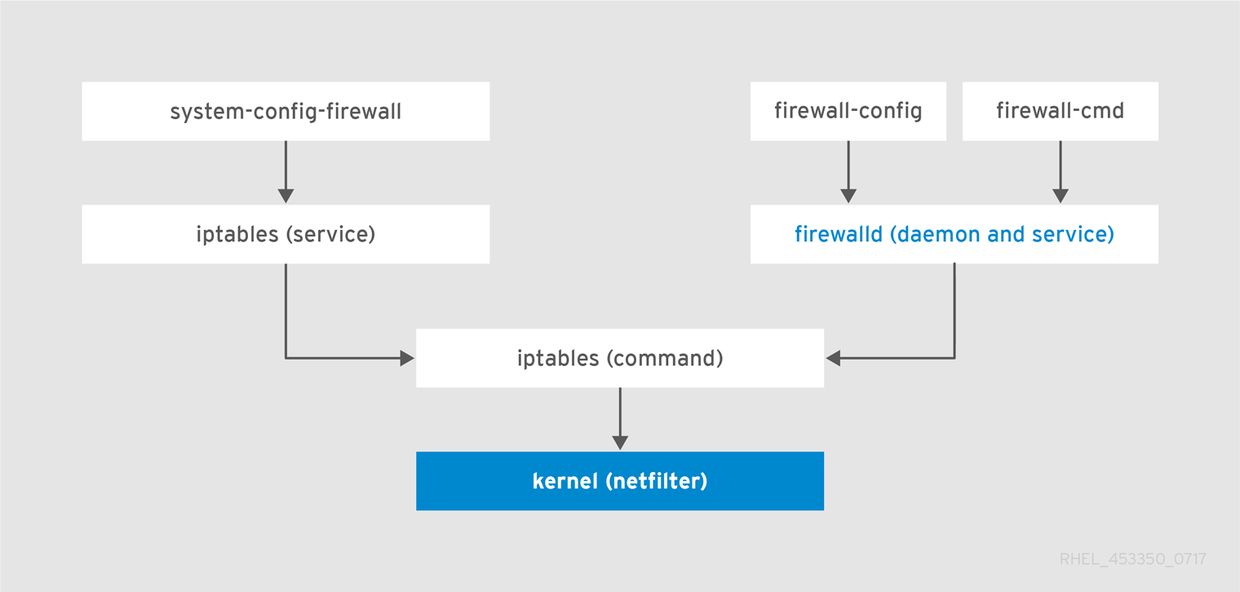
6.设置Firewalld防火墙
|
1
2 |
$ firewall-cmd --zone=public --add-port=80/tcp --permanent
$ firewall-cmd --reload |
7.查看Nginx是否启动成功
|
1 |
$ ss -ntlp |
可以查看到nginx进程已经运行了。到此nginx安装就完成了,可能你还会有疑问,nginx怎么解析并支持php程序呢,别慌,下一篇文章中我会写到。
以上就是本文的全部内容,希望对大家的学习有所帮助,也希望大家多多支持快网idc。
原文链接:https://renwole.com/archives/39

相关文章


- 64M VPS建站:如何选择最适合的网站建设平台? 2025-06-10
- ASP.NET本地开发时常见的配置错误及解决方法? 2025-06-10
- ASP.NET自助建站系统的数据库备份与恢复操作指南 2025-06-10
- 个人网站服务器域名解析设置指南:从购买到绑定全流程 2025-06-10
- 个人网站搭建:如何挑选具有弹性扩展能力的服务器? 2025-06-10