到目前为止,Vtonf仅仅支持RedHat, Fedora, 和 CentOS(支持Debian正在计划中)。
CentOS-5.4-i386系统(Vtonf不支持x86-64的系统,安装过程会出错,在其INSTALL中也有说明)
1、关闭SELinux
打开setup界面–firewall configureation,将SELinux置为Disabled
或修改
| vi /etc/sysconfig/selinux |
为
| SELINUX=disabled SELINUXTYPE=targeted |
2、Firewall
如果不想关闭Firewall,需要打开8001端口:
| /sbin/iptables -I INPUT -p tcp –dport 8001 -j ACCEPT /etc/rc.d/init.d/iptables save /etc/init.d/iptables restart |
3、安装 OpenVZ
| cd /etc/yum.repos.d wget http://download.openvz.org/openvz.repo rpm –import http://download.openvz.org/RPM-GPG-Key-OpenVZ yum search ovzkernel yum -y install ovzkernel yum -y install vzctl vzquota |
| vi /etc/sysctl.conf |
修改或添加以下内容
| net.ipv4.ip_forward = 1 net.ipv4.conf.default.proxy_arp = 0 net.ipv4.conf.all.rp_filter = 1 kernel.sysrq = 1 net.ipv4.conf.default.send_redirects = 1 net.ipv4.conf.all.send_redirects = 0 net.ipv4.icmp_echo_ignore_broadcasts=1 net.ipv4.conf.default.forwarding=1 |
使之生效:
| sysctl -p |
重启系统
| reboot |
| uname -r |
如果安装正常应该显示为:
| 2.6.18-164.15.1.el5.028stab068.9 |
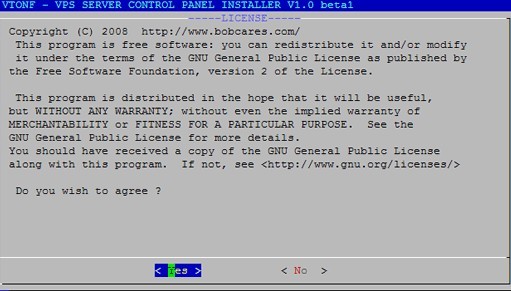
4、安装Vtonf
| yum -y install vzpkg expect |
| wget http://mesh.dl.sourceforge.net/sourceforge/vtonf/vtonfinstaller.1.0-beta1.tar.gz tar xvfz vtonfinstaller.1.0-beta1.tar.gz cd vtonfinstaller.1.0-beta1 ./install |
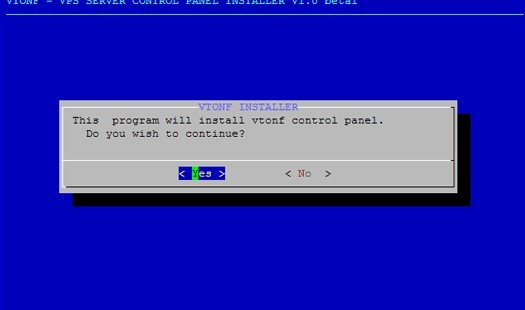
会问你是否开始安装程序,输入yes
Do you wish to start the installation procedure (y/n)? :y
Starting installation
Please wait……………….
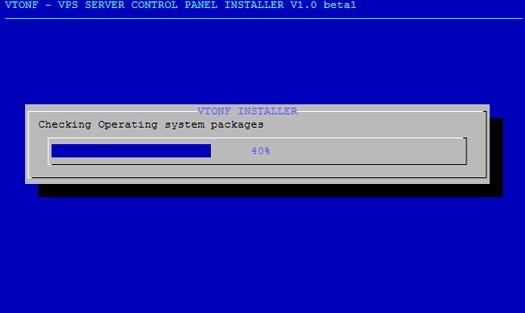

OK.安装完成。
打开vtonf控制面板http://yourhostip:8001/
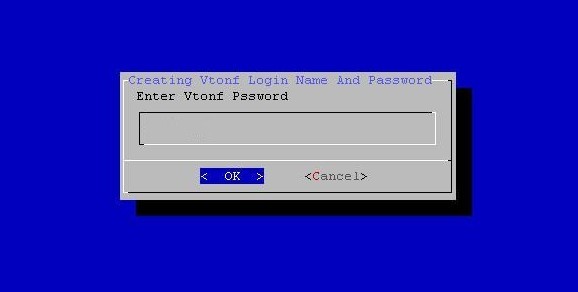
输入安装过程中你设置的用户名和密码
Login Name : admin
Password :
属于你自己的VPS已经呈现在你的眼前,晚些时候再把vtonf的使用方法弄出来。